
How to use your Chef Link account
A short tour of the new website — sign in, reorder, pay your statement, save lists, and manage your trade account.
The new Chef Link website is built around your trade account. Sign in once and you can reorder last week’s order, pay a statement, save a Saturday list, and keep delivery addresses up to date — without ringing the shop.
Start at cheflink.au/account. If you are not signed in yet, use Sign In at the top of the site.
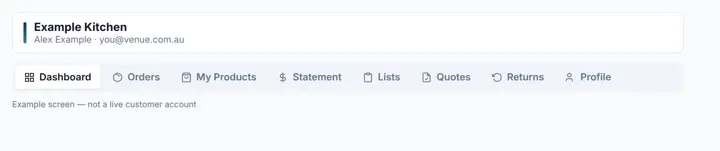
Example screen — not a live customer account.
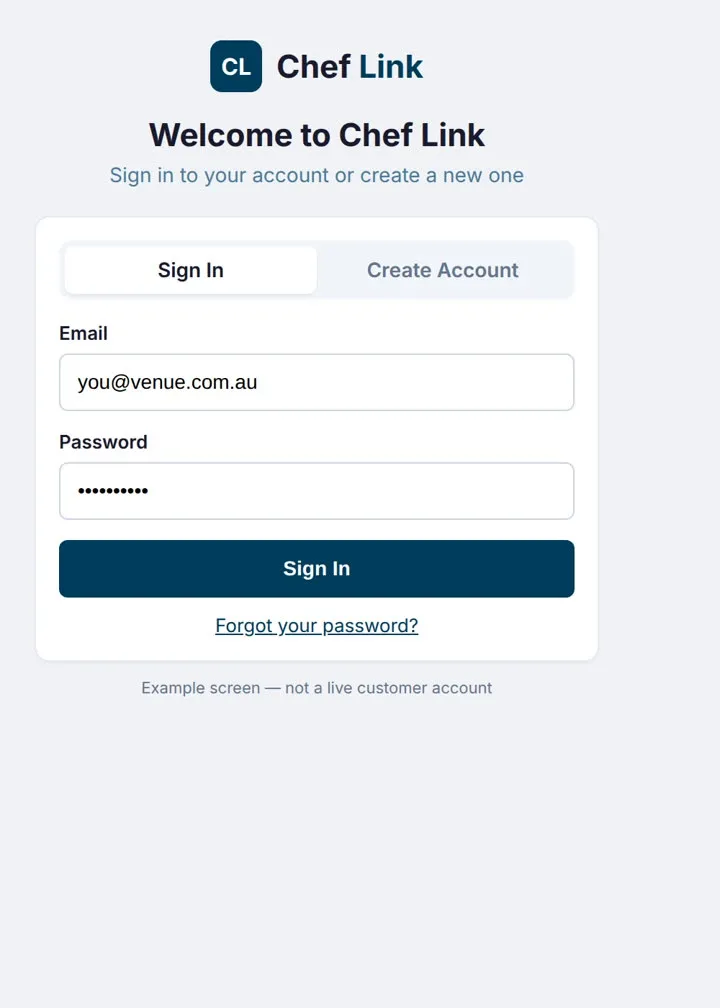
1. Sign in (or reset your password)
Example screen — not a live customer account.
- Open cheflink.au/login.
- Enter the email we have on your account and your password.
- Forgotten it? Use Forgot password. We send a reset link to that email — it never confirms whether the address exists.
- New staff who have not ordered before can use create a new one on the same page, or ask the account admin to add them under Team.
Once you are in, the header shows Account instead of Sign In. That is your home for everything below.
2. Dashboard — Quick Reorder
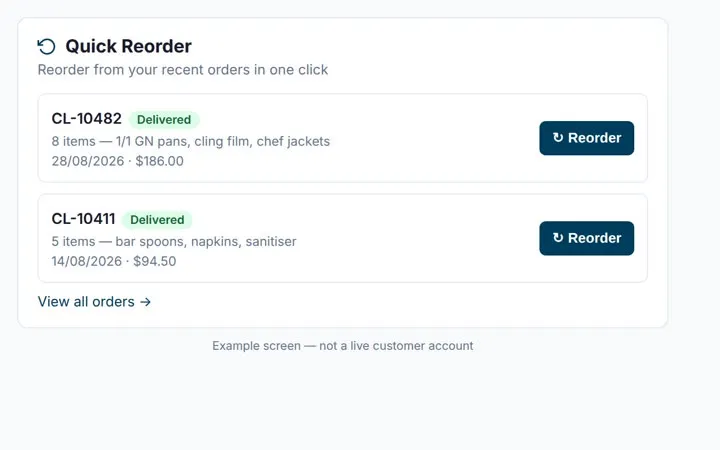
Your Dashboard opens first. If you have recent orders, Quick Reorder lists them with a Reorder button.
Example screen — not a live customer account.
- Go to Account → Dashboard.
- Find the order you want and tap Reorder.
- We check stock and flag any price changes before lines go into the cart.
- Review the cart and check out as usual.
You can also Customize the dashboard widgets if you want a quieter screen.
If your business has more than one venue, a Your venues switcher sits above the tabs so you are looking at the right account.
3. My Products — everything you have bought
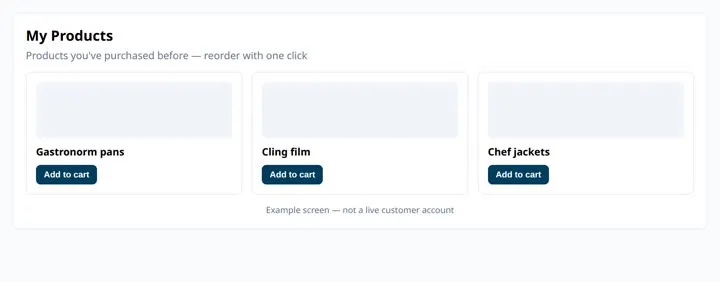
My Products is your personal catalogue: every line you have purchased, ready to tick and send back to the cart.
Example screen — not a live customer account.
- Open Account → My Products.
- Stay on Reorder for a pick-list, or switch to Full Timeline to search by name, SKU, or date.
- Tick the lines you need and use Add to Cart.
4. Lists — save a Saturday par, a function, or a venue
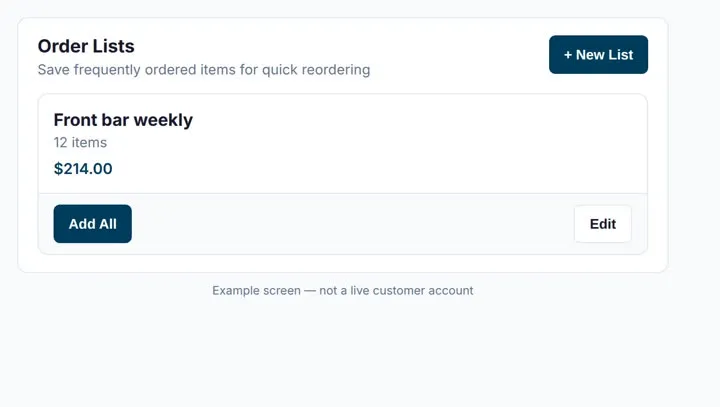
Lists are saved order templates. Create them in Account, then add products from the catalogue with the clipboard Save to list icon on a product card or product page.
Example screen — not a live customer account.
- Open Account → Lists and tap New List.
- Name it something the kitchen will recognise (e.g. “Front bar weekly”).
- Shop the catalogue and tap the clipboard icon → choose that list (or create one on the spot).
- When you next order, open the list and tap Add All to dump it into the cart.
5. Statement — see what you owe and pay online
Example screen — not a live customer account.
- Open Account → Statement.
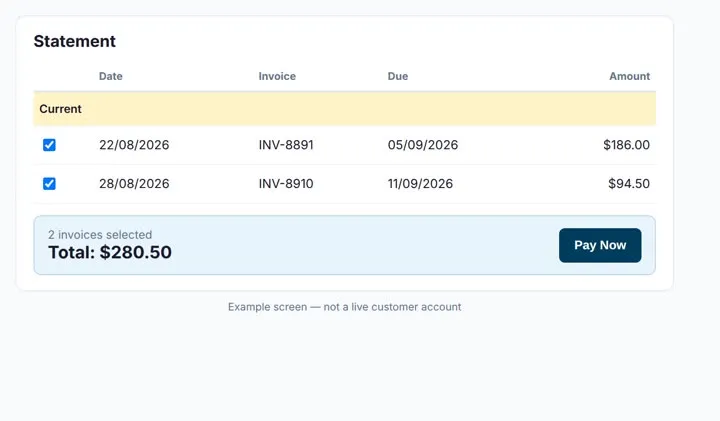
- Open invoices are grouped by age (current, 30–60, 60–90, over 90 days).
- Tick the invoices you want to pay. The running total updates as you go.
- Tap Pay Now and complete the card payment (Eway). Your full card number is never stored on our servers.
Transaction History on the same tab is the searchable ledger of invoices, payments, and credits. Open an invoice from here to print it or email a copy to yourself.
Approved trade accounts can still choose charge to account at checkout, within the credit we have set.
6. Orders
Example screen — not a live customer account.
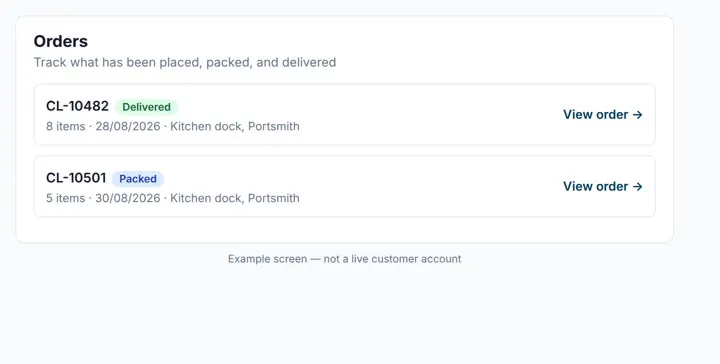
Account → Orders is the status list: what has been placed, packed, and delivered. Open an order for the lines, delivery address, and proof of delivery when we have it.
7. Quotes
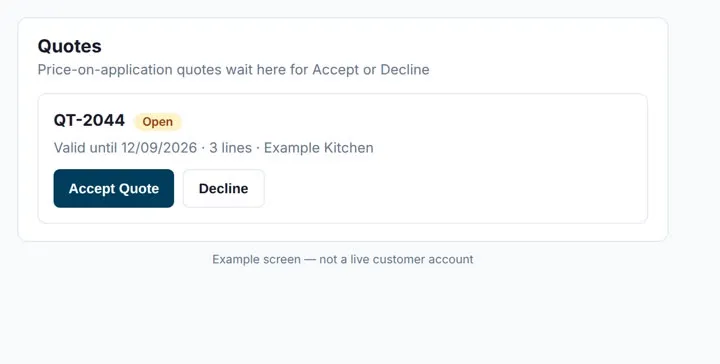
Price-on-application lines (and some custom work) come back as a quote rather than an instant cart total.
Example screen — not a live customer account.
- Open Account → Quotes.
- Open the quote. Check the valid-until date.
- Tap Accept Quote, add a signature and name (and a PO number if your account requires one), or Decline if it is not needed.
You can also request a quote from checkout when the cart is all POA items.
8. Returns
Account → Returns tracks return requests and credit notes. To start a return, email [email protected] with the invoice number — our policy is on the Returns & Refunds page.
9. Profile, cards, and delivery addresses
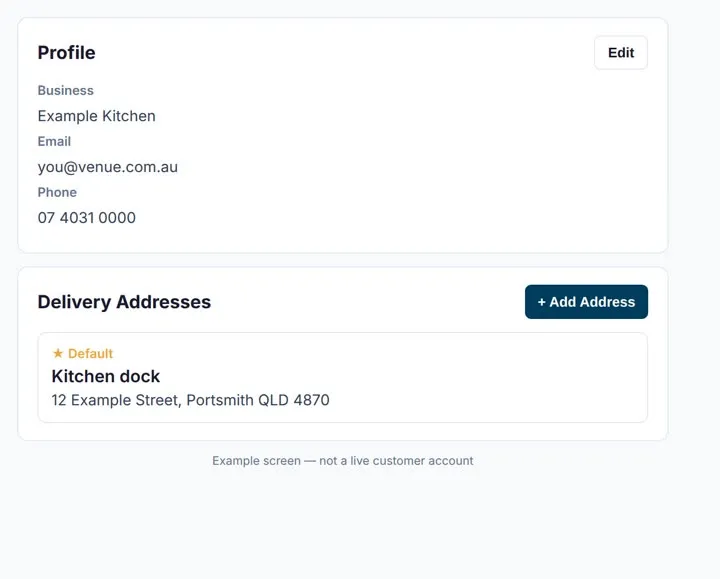
Example screen — not a live customer account.
- Open Account → Profile.
- Update business details and billing address with Edit.
- Under Delivery Addresses, tap Add Address for extra ship-to sites (coolroom, function kitchen, second venue).
- A saved card (if you ticked “Save this card for future orders” at checkout) can be removed here. Change your password from the same tab.
10. Team (account admins)
If you are the business admin on the account, a Team tab appears.
- Open Account → Team.
- Tap Add Team Member.
- Enter their email and choose Admin or Staff. They get an invitation email, or you can copy a link to share.
Staff can place orders on the business account. Only add people you trust with that.
Shopping on the new site
- Search from the header, or browse departments in the menu.
- Catalogue prices are GST-exclusive; GST is added at checkout.
- Same-day Cairns city delivery is available for orders placed by 12pm (see Shipping).
- On a phone, Account also offers an install button so Chef Link sits on the home screen like an app.
Need a hand?
Shop and showroom: Unit 2 / 5 Plath Close, Portsmith QLD 4870
Monday–Friday 8.30am–4.30pm, Saturday 9am–12pm
Email [email protected] · Phone +61 7 4031 6244